Simulator
Contents
Introduction
| Simulate all aspects of Robotino wihtin a physical 3D simulation environment. |
Package links |
|---|
Robotino SIM Professional
Robotino SIM Professional is the perfect tool to simulate Robotino in environments created by yourself. All sensors/actors) of Robotino are simulated (including the new laser rangefinder and the manipulator).
For further information please send an email to info@openrobotino.org
Robotino SIM
Free version of the Robotino simulator. Lets you simulate Robotino's drivesystem, distance sensors, camera and more. See Package links for download details.
Example Setup
One way to build a complete Simulation environment involves setting up Robotino SIM in combination with virtual machines that emulate a Robotino and RobotinoFactory.
The virtual machines will run the basic Robotino environment plus Smartsoft. A preconfigured VMWare Workstation VM can be found here: VM download (the VM was created with VMWare 15 but should be compatible with most VMWare versions)
To use the VM simply import it into your Workstation and clone it as many times as you want robots in your simulated scenario. (Note: You will need Professional editions of the Simulation and VMWare Workstation to use multiple systems)
Each VM will require some changes to its configuration after it has been cloned:
- Make sure each machine has its own unique IP (preferably manually set)
- /etc/robotino/smartsoft_common.conf
- RemoteNS=127.0.0.1 enter the IP of the master system as RemoteNS. If you only have one Robotino you can keep the 127.0.0.1
- /etc/robotino/smartsoft_master.conf
- autostart=true make sure the autostart option is disabled for all but one machine
- MasterIP=127.0.0.1 enter the correct master address. If you are only using one machine keep 127.0.0.1
- /etc/robotino/smartsoft_slave.conf
- RobotinoIP=127.0.0.1 enter the Robotinos own public IP here. This is the IP you use in Robotino Factory
- RobotinoName=1 give it a unique ID(RobotinoName)
- RobotinoSimIP=xxx:port enter the address and port of the simulated Robotino shown in RobotinoSim. The port needs to be the one set up in the simulation under the "plugin" tab when selecting the simulated Robotino.
All these settings can also be adjusted through the Robotino Web Interface.
(optional) In case you cloned the VM for multiple simulated robots you may want to adjust the host names of the machines to get better descriptive names when connecting to them via ssh or vnc.
- hostnamectl set-hostname NAME
- edit /etc/hosts change 'ubuntu' NAME
The Robotino VM should now be able to connect to the simulation and be controllable through Robotino Factory by connecting to the SmartSoft master system. If autostart is enabled for each slave and the VMs should automatically connect to the system on startup. The simulation should recognize the incoming connection and show a little prompt "start simulation now" as soon as the Robotino VM is ready. As soon as the simulation is running, the robotino should connect to it and be usable through the Robotino Factory. If this is not the case, please double check that the port in the simulation matches the one configured in the slave configuration
Example Scenarios
SimpleScene
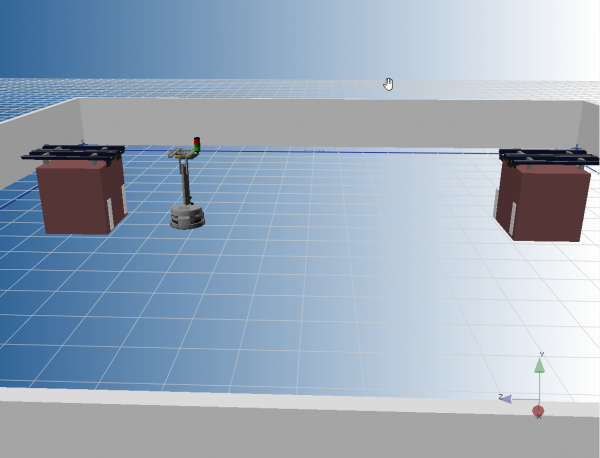
A basic example of a simple work environment where the Robotino moves between two machines in a room. The workspace is simply defined as two nodes in front of each of the machines.
Big Scene
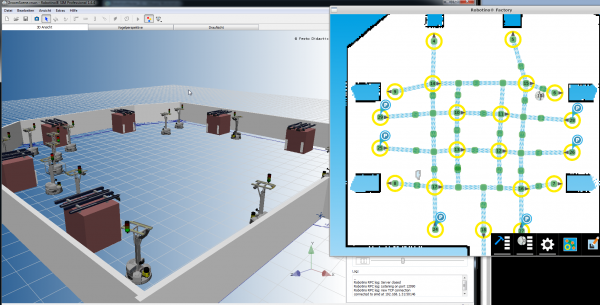
A more complex setup where a large number of robotinos share a wide workspace with multiple machines. The path network is set up in a way that allows multiple Robotinos to move simultaneously.
The double roundabout helps the robots to avoid each other while moving towards their goal positions. Generally, it is advisable to arrange the nodes in a near perpendicular angle and avoid overlap of paths as much as possible. Be mindful that one- and two-way paths can make a big difference in how the navigation network is used by the robots.

